Initially each user that connects to Ebsta is assigned to an Ebsta Team based on their Salesforce Profile. The privacy of the information shared through Ebsta is determined by Teams. Privacy Controls set the permissions for information sharing within and across Teams. Teams can have visibility of information from just their own mailbox, from the mailboxes of their team or multiple teams.
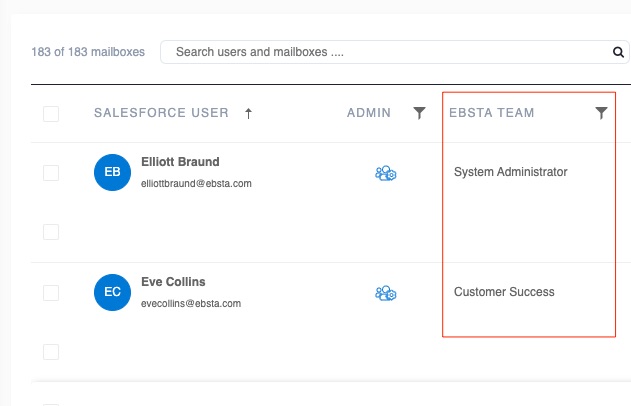
The Ebsta Team a user is assigned to is shown in the user table of the User Management section of Ebsta's Console.
If you haven't already, we suggest reading the following guide:
Managing Users: An Administrator Guide
Managing Teams
Adding/Removing users from a Team
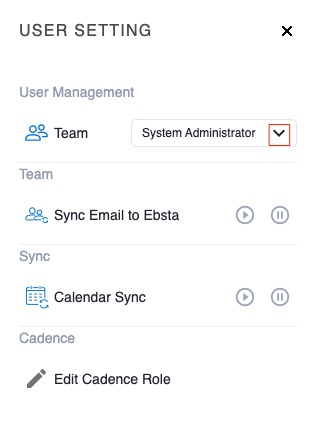
1. Check the box alongside a user in the user table to open up the User Setting panel.

2. Click the down arrow alongside Team.
3. Check the box to select a Team to assign to this user to.
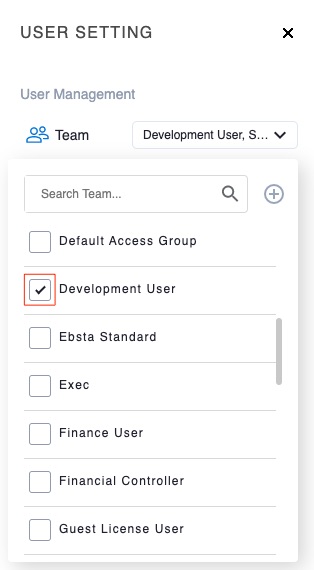
4. To remove a user from a Team, uncheck the box alongside the Team they are currently assigned to.
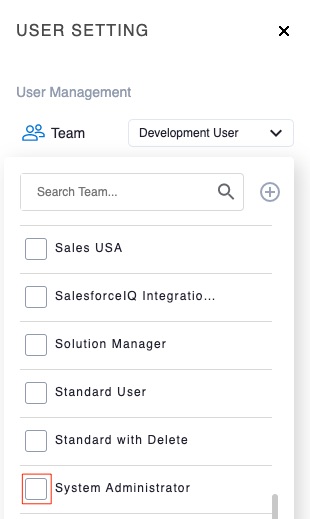
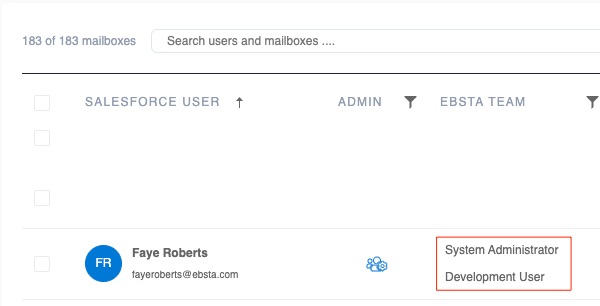
5. The change will take immediate effect and the user table will update to reflect the change.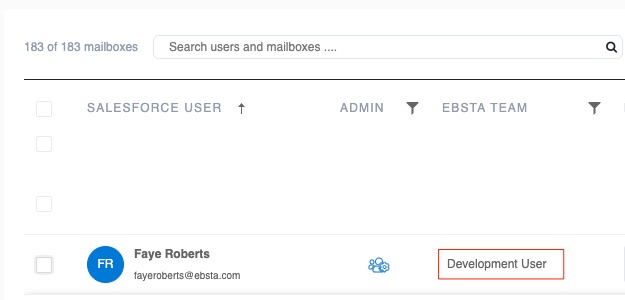
Note: A user can be assigned to more than one Ebsta Team.
Create/Rename/Delete a Team
1. Check the box in the top left of the user table (or alongside any user) to open up the User Setting panel.

2. Click the down arrow alongside Team.
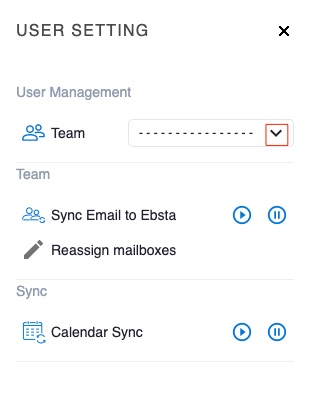
3. Click the + button.
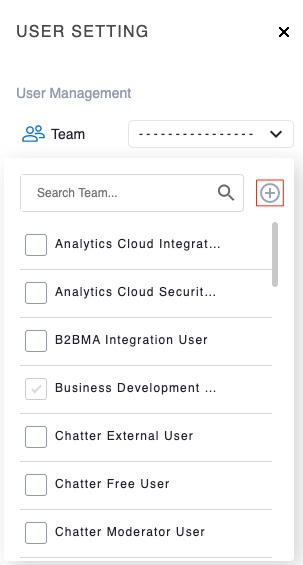
4. Type in a name for the new Team and click the green tick.
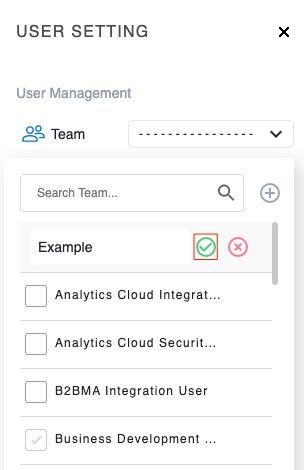
5. The Team will now appear as an option in the dropdown menu so that you can assign users to it.
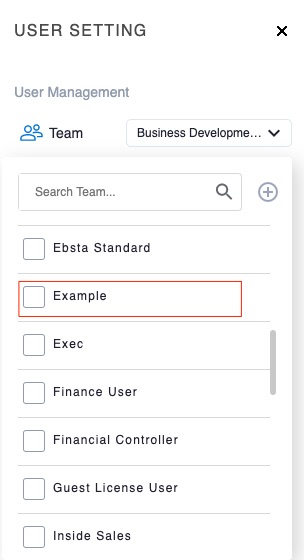
6. To rename a Team, hover over it in the menu so that two buttons appear. Click the pencil.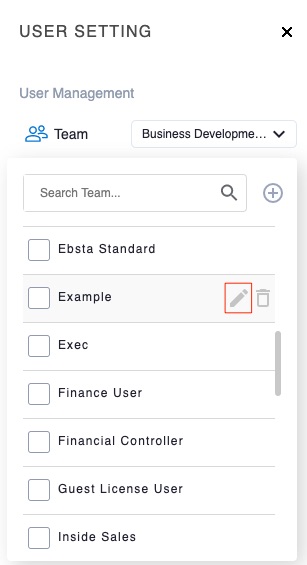
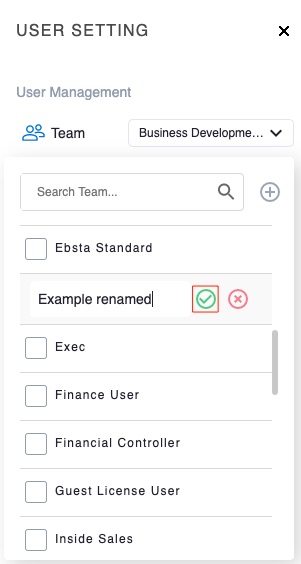
7. Type in a new name for the Team and click the green tick.
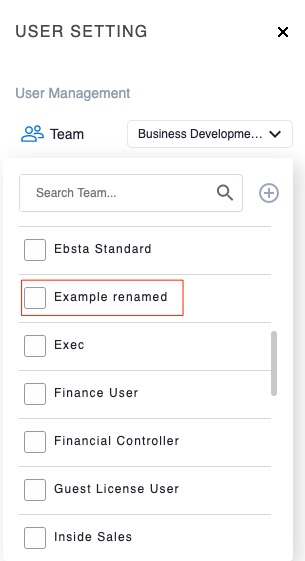
8. The Team will be updated in the menu.
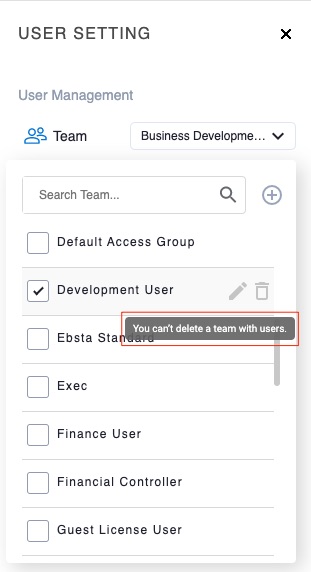
9. To delete a Team, hover over it in the menu so that two buttons appear. Click the trash can.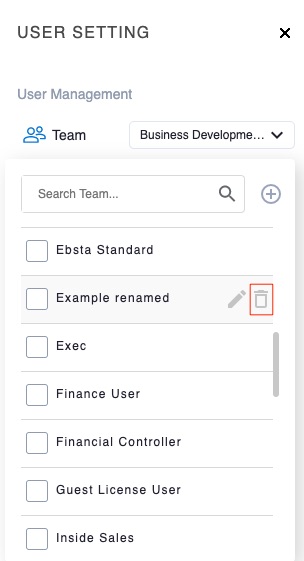
10. Click Confirm.

11. Ebsta will confirm that the Team has successfully been deleted and it will be removed from Team menu.

Note: You can not delete a Team that has users assigned to it.
