Note: Ensure you have no other third party calendar process running alongside this sync as this may lead to a duplication of events.
1. Open up the Ebsta Console by clicking on the following link:
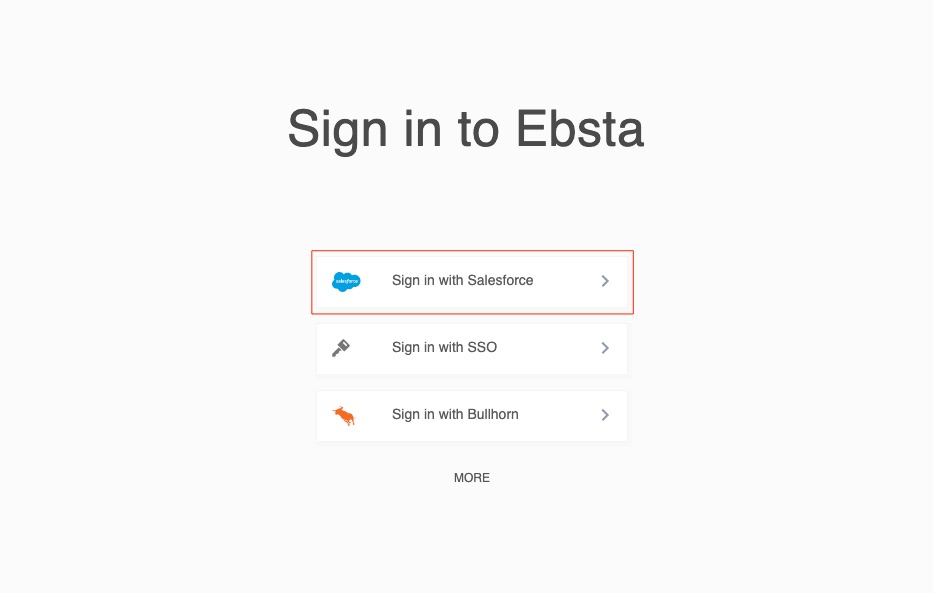
2. Click Sign in with Salesforce and log in with your Salesforce credentials.
3. Click Settings in the top right-hand corner and select Calendar Sync.
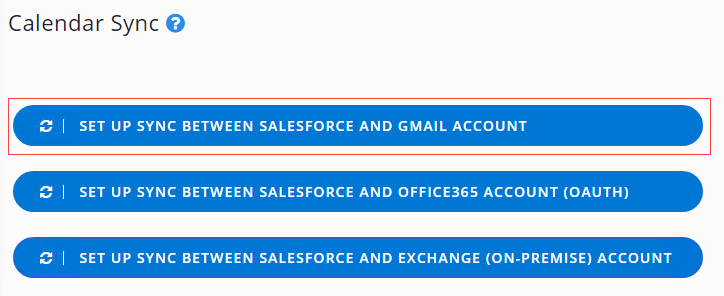
4. Click Set up Sync Between Salesforce and Gmail Account.
5. Sign in to your Google Account with your username and password.
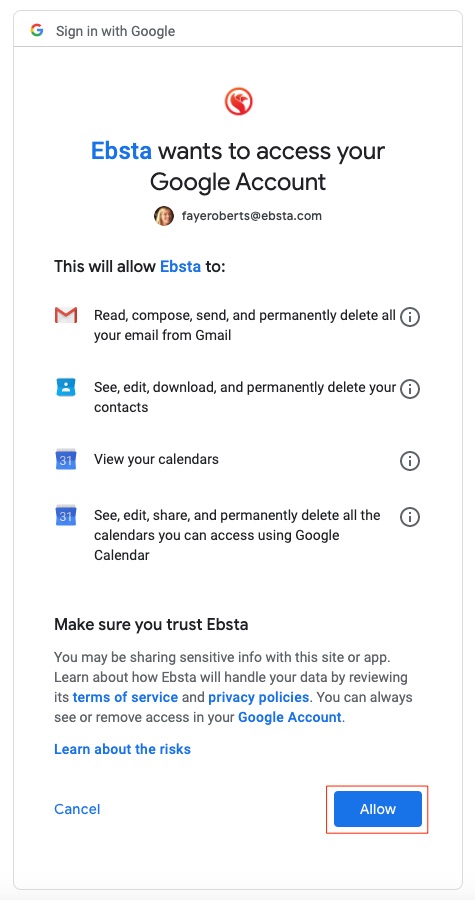
6. Give Ebsta permission to connect your account by clicking Allow.
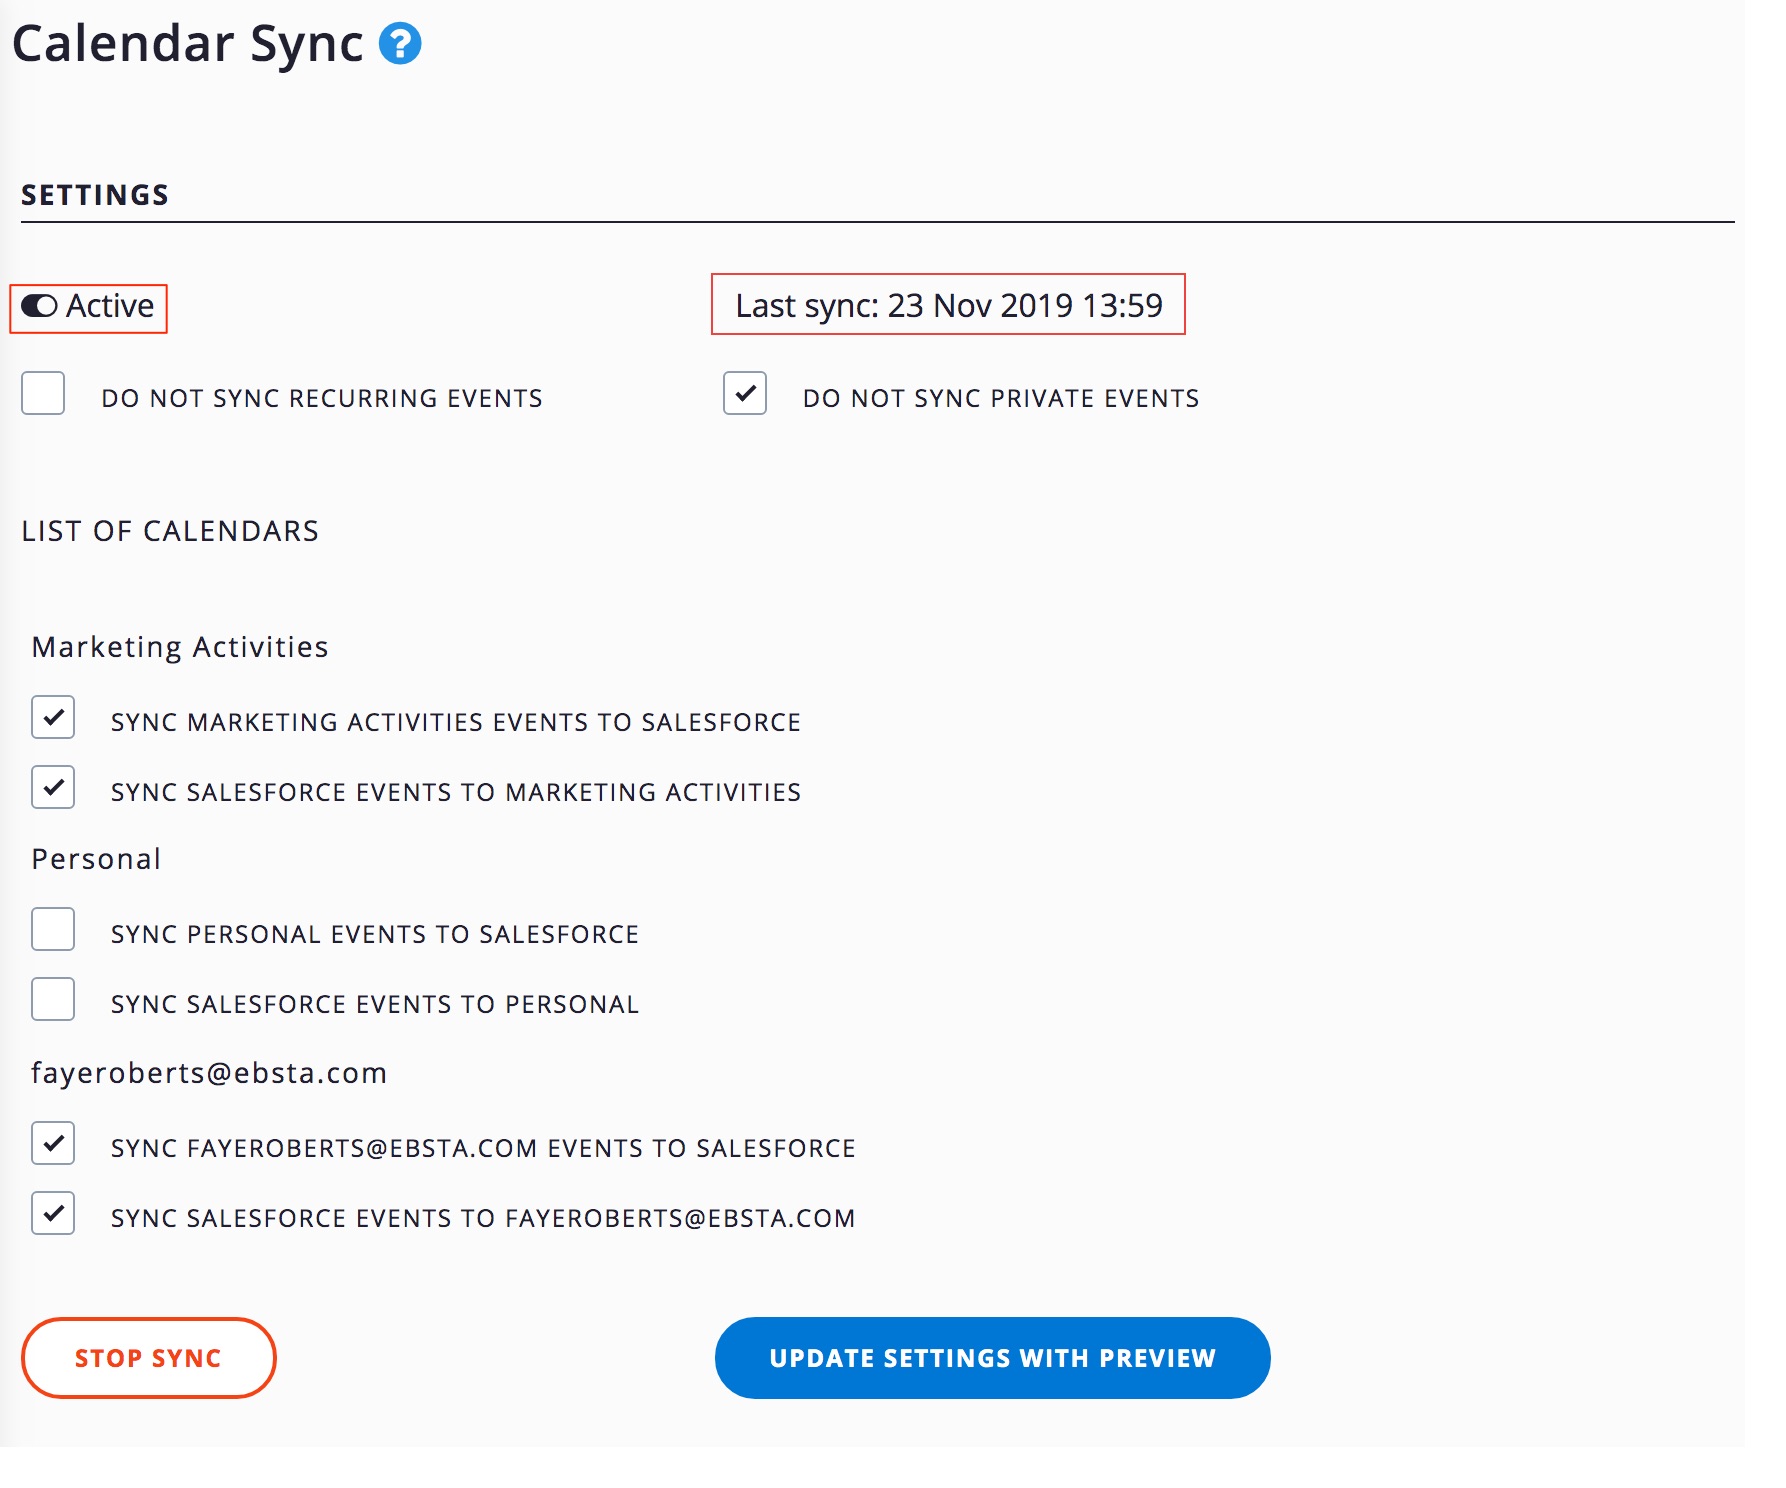
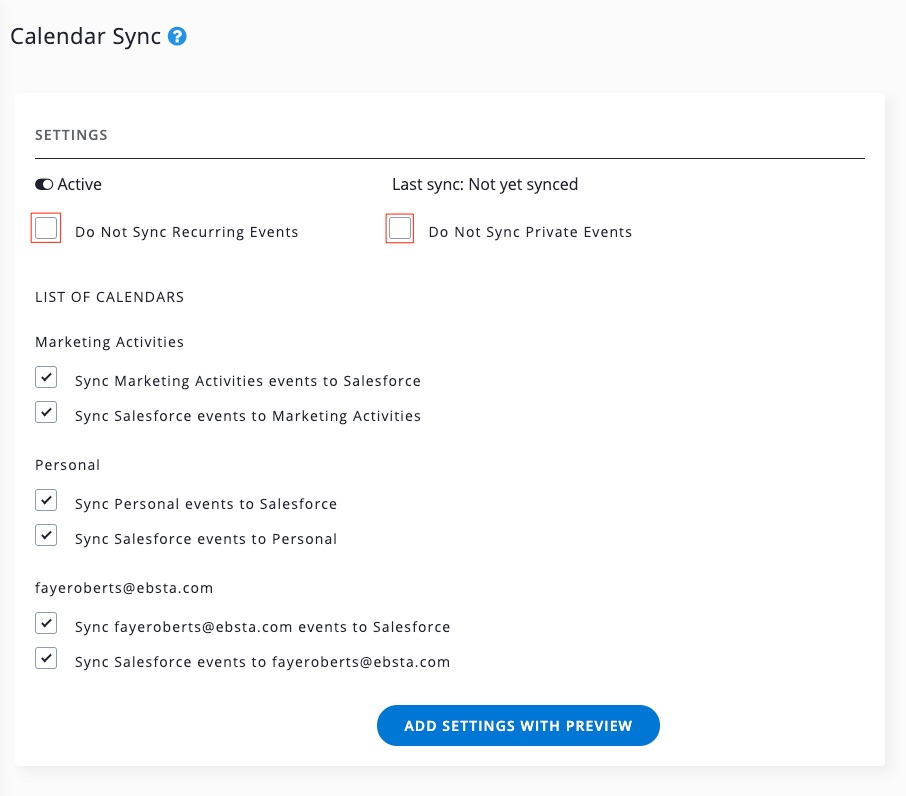
Now you have the opportunity to adjust the sync process to your requirements.
7. By default, the sync includes recurring events and private events. If you do not wish them to be included, check the tick box(es).
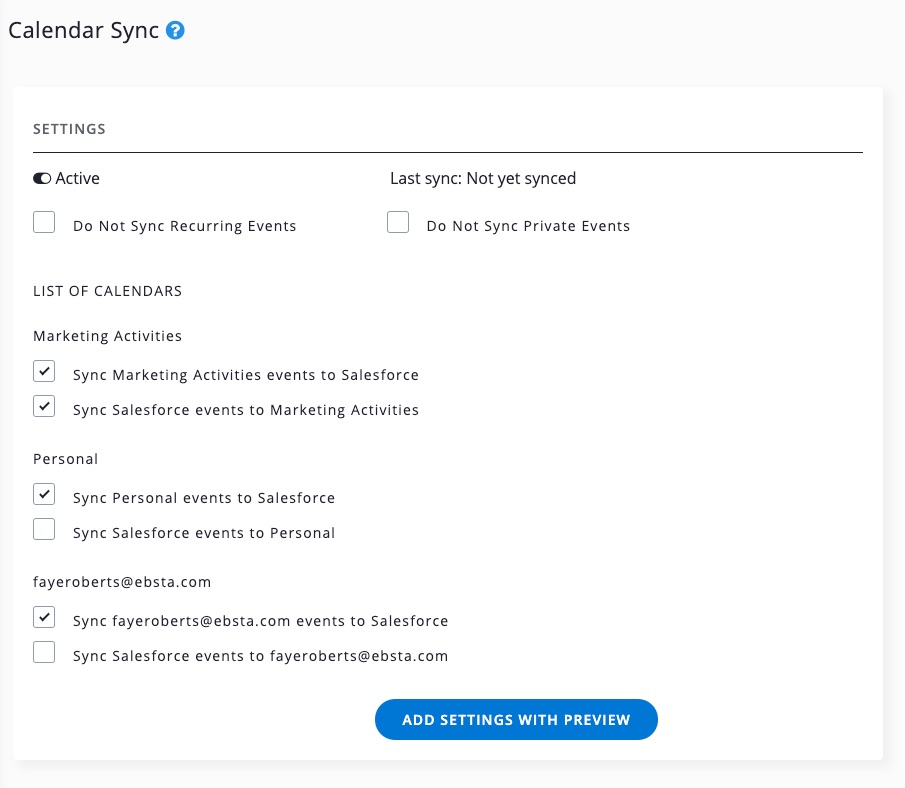
8. Use the check boxes to determine which calendars you wish to sync and which way you wish the sync to run - either sync events from Google to Salesforce, from Salesforce to Google or both ways (bi-directionally). If you uncheck both boxes next to a calendar, it will be excluded from the sync process.
In the example below, the Marketing Activities calendar is set to sync bi-directionally and the the other calendars from Google to Salesforce only.
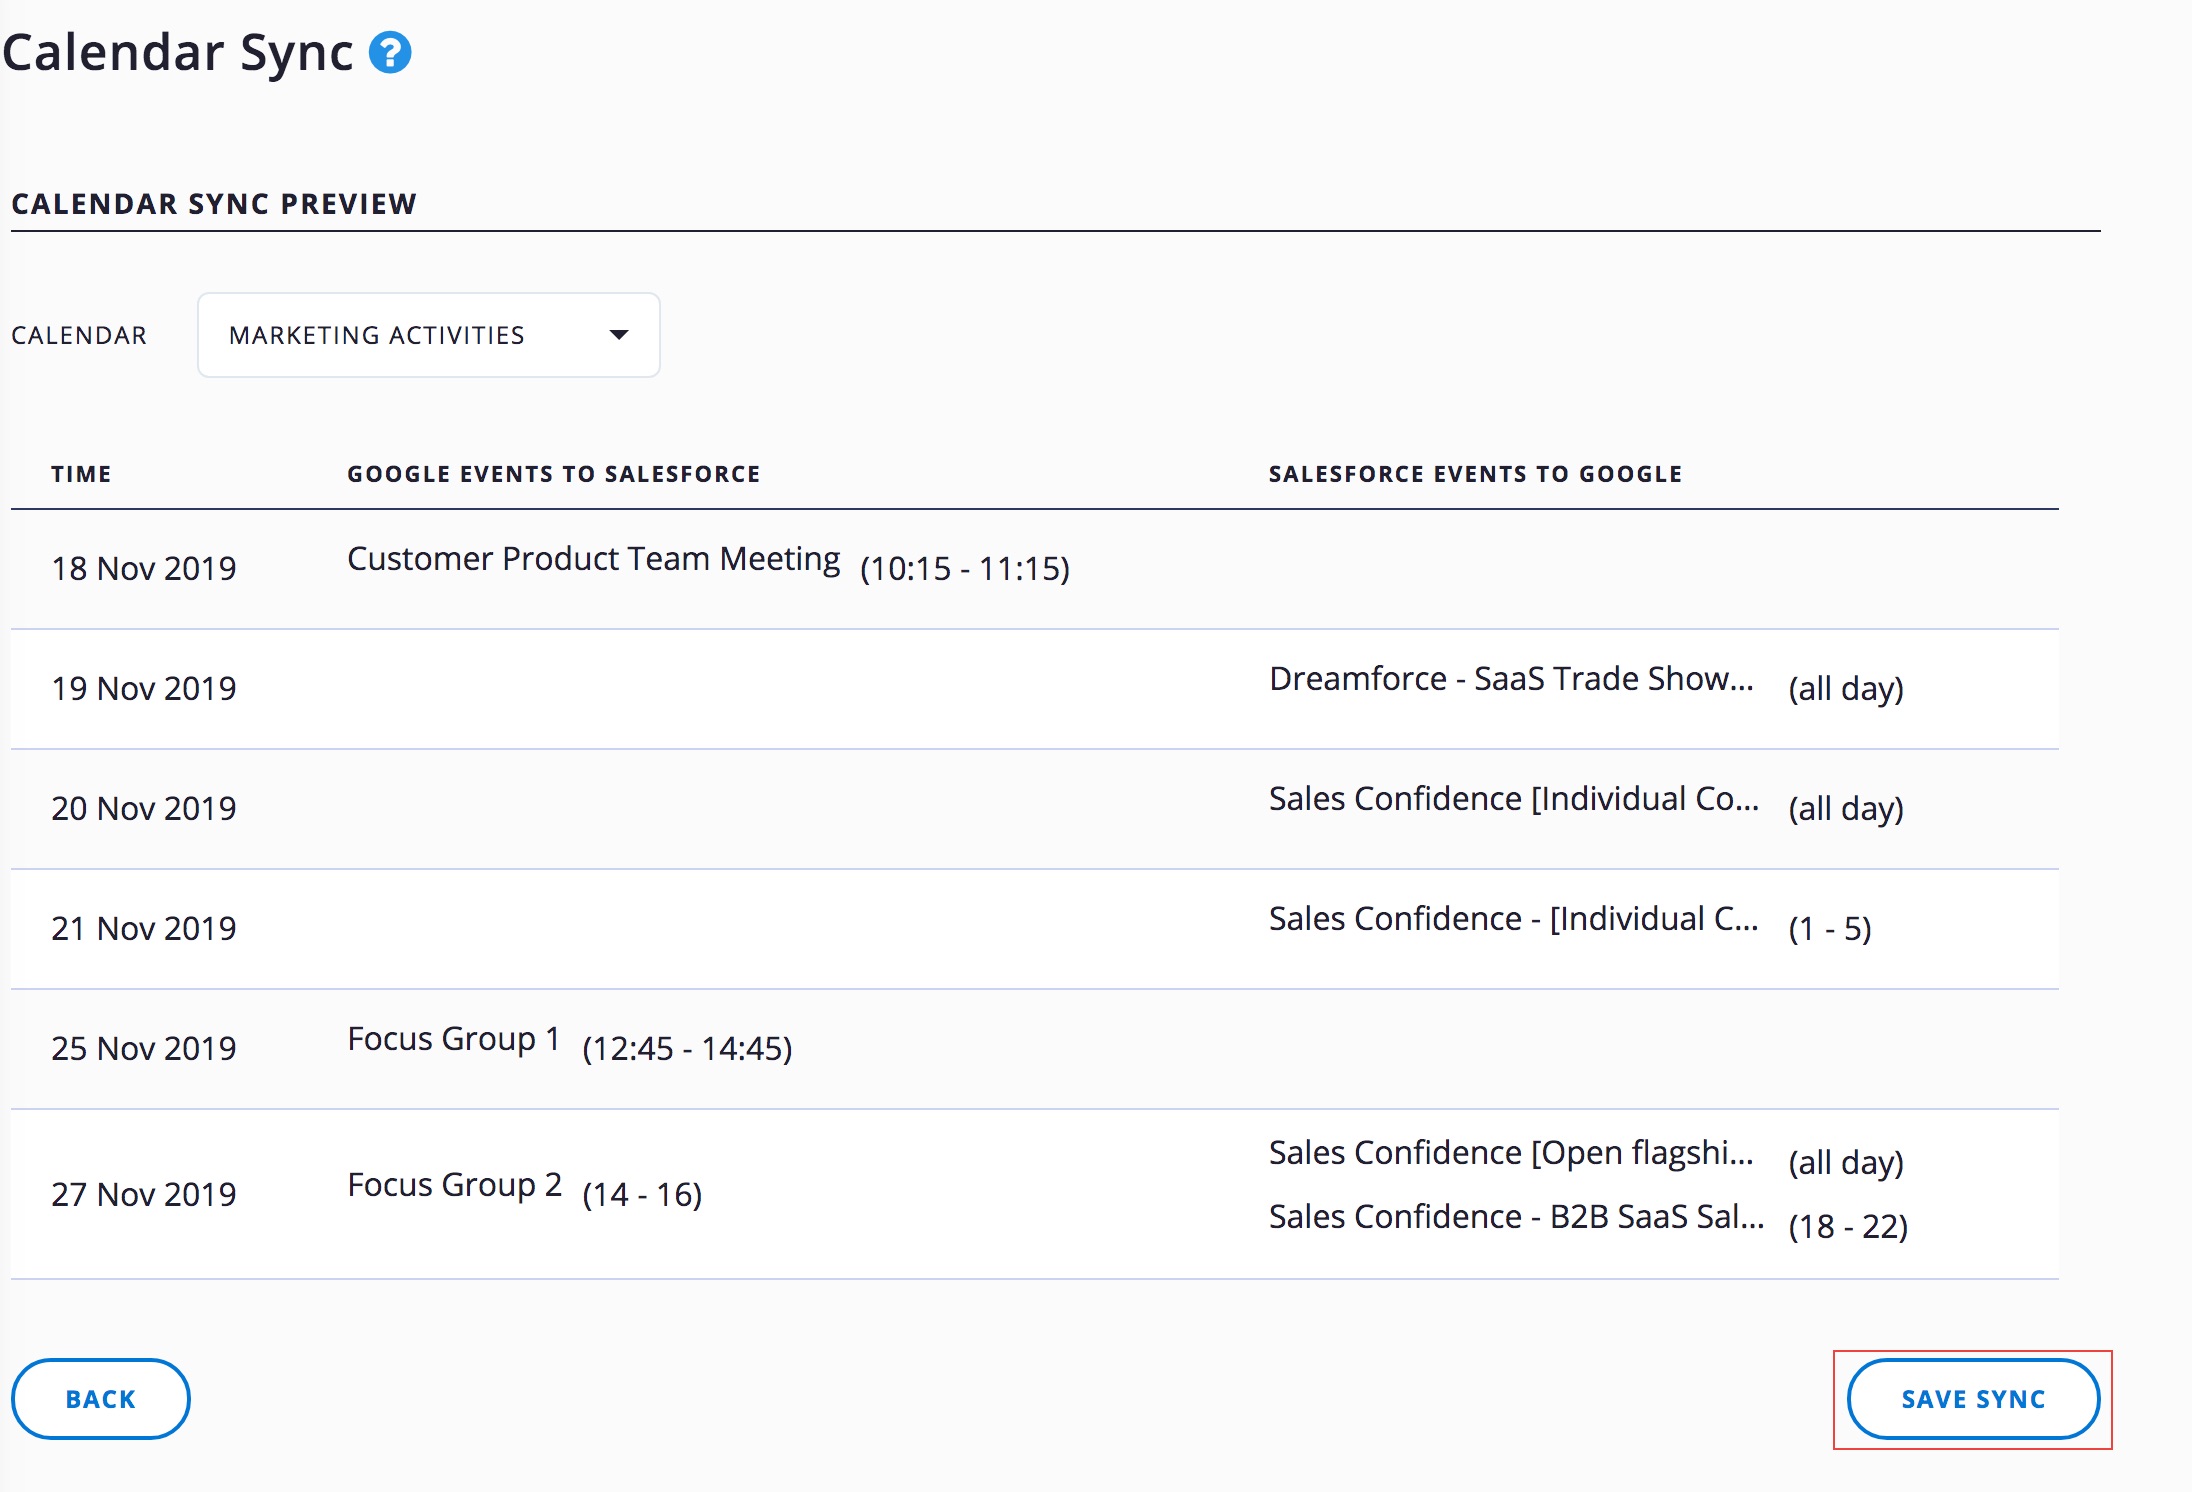
9. When you are happy with your set up, click Add Settings with Preview.

10. Ebsta displays a preview of the Events that will sync for each of your Calendars. If you are happy, click Save Sync. If not, click Back to adjust your set up.
11. The sync process will commence and will run an automatic re-sync every 5 minutes from then on. Ebsta will display the status of the sync as Active and the date and time of the last sync.